Heating
Knowing our adventures would likely take us to warm weather (usually in the spring, fall, and winter months), and to cool weather up north in the summer months, having solutions for both heating and cooling seemed critical to our comfort.
Since we purchased our van in the middle of January, the heater became our priority to have heat while working in temperatures in the 10-30 degree Fahrenheit range.
There are many great blogs and articles on incorporating a heater into a DIY project, however, one of our early research and design decisions was that we didn't want open flame in the van and we didn't want propane either. This led to the decision to use a small diesel powered heater as the primary heat source.
We found many options for diesel heaters that were amazing and extremely well rated, however the cost was anywhere from $750-$1,500 for models like the Espar Airtronic, or the Webasto Diesel heaters. We wanted something that would function similarly, but at a more reasonable price.
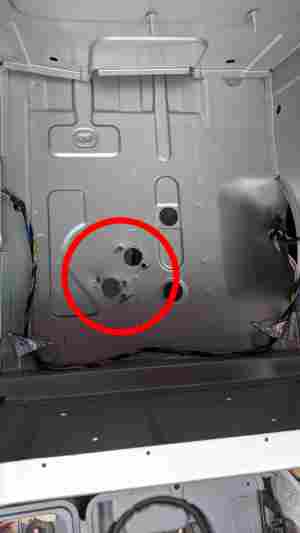
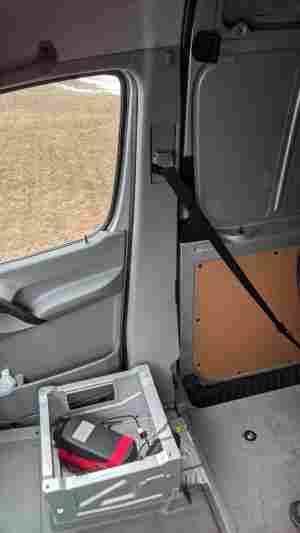
After reading a lot of reviews of less expensive Chinese heaters on Amazon, we decided to purchase one for less than $150 that would be installed under the passenger seat.
5KW 12V Diesel Air Heater Digital Switch 10L Tank + Silencer for Car Trucks Boat Trailer Pickup

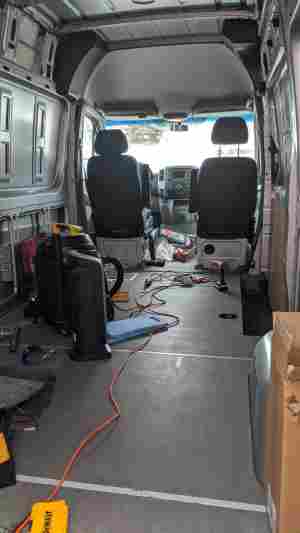
With a lot of help from our granddaughter McKenna, we got the heater installed.


Cooling
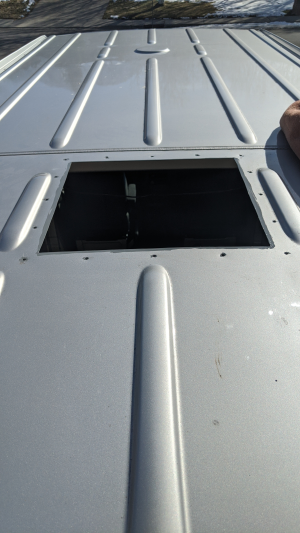
Let's face it, buying a new vehicle is stressful enough. But then to cut holes in it adds a new level of stress. Cutting a hole in the roof for a roof vent and cooling fan was something that required a significant amount of planning and then courage to finally do it.
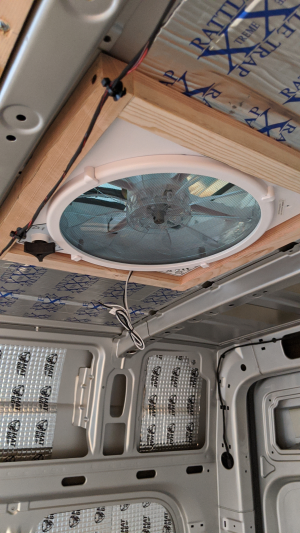
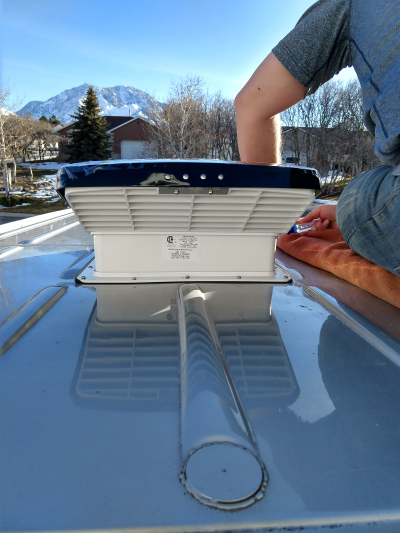
We researched several fans from Dometic Fan-Tastic to Maxxair Maxxfan. For the airflow, the remote control features, the ability to automatically open/close, we decided the Maxxair Maxxfan would be best for us.
Maxx Air 00-07500K MaxxFan Deluxe with Remote - Smoke

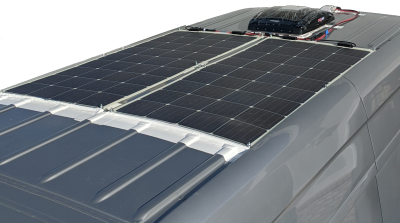
Research of solar panel sizes and placement took place prior to installing the vent. We needed to know exactly where we wanted the fan placed. We wanted the fan as close to the rear of the vehicle to allow us to draw air in from the front of the van and vent it out the top in the rear. And then also be able to do the reverse.
